For companies just starting with open source management, we recommend the cdxgen + Dependency-Track combination as a toolset that can establish a basic automation environment within a single day.
This guide walks you through every step, from installation and configuration to setting up a license and vulnerability inspection environment and running day-to-day operations.
Why cdxgen + Dependency-Track
Open source management comes down to two essentials.
- Know what is inside — generating an SBOM (Software Bill of Materials)
- Continuously monitor risk — detecting vulnerabilities (CVEs) and license policy violations
cdxgen handles the first, and Dependency-Track handles the second. Both tools are free open source under the Apache-2.0 license.
End-to-end automation flow
flowchart TD
    A["Developer PC / CI·CD pipeline"] --> B["Run cdxgen\nScan source code & container images"]
    B -->|"CycloneDX SBOM (.json)"| C["Dependency-Track\nAutomated central-server analysis"]
    C --> D["Vulnerability (CVE) detection\n→ Notify owner"]
    C --> E["License policy violation\n→ Request review"]

    style A fill:#2d3748,color:#fff
    style B fill:#2b6cb0,color:#fff
    style C fill:#2b6cb0,color:#fff
    style D fill:#c53030,color:#fff
    style E fill:#744210,color:#fff
Why we chose this combination
| Criterion | Description |
|---|---|
| Cost | Both tools are free open source (Apache-2.0) |
| Standards compliance | CycloneDX format — meets ISO/IEC 5230 and NTIA SBOM requirements |
| Broad language support | Java, Node.js, Python, Go, Rust, and 20+ more |
| Centralized management | View vulnerability and license status across all company projects on one screen |
| Ease of automation | REST API based — simple to integrate into CI/CD pipelines |
Comparison with other tools: FOSSology, SW360, and others are also powerful tools, but they involve high initial setup complexity. The combination in this guide is minimized so you can establish a basic environment within a day. For detailed features of each tool, see the cdxgen guide and the Dependency-Track guide.
Installing Dependency-Track
Prerequisite: Docker environment
Dependency-Track runs with Docker Compose. If you do not have Docker, install Rancher Desktop (macOS·Windows, free). After installation, confirm it is installed correctly by running the command below in a terminal.
docker --version
docker compose command compatibility: On Docker Desktop and Rancher Desktop environments, use
docker compose(the plugin). If you installed Docker on macOS via Homebrew or Colima, you may need to usedocker-compose(with a hyphen). If anydocker composecommand in this guide fails, replace it withdocker-compose.
Installation and startup
Create a dedicated folder in your home directory, download the official configuration file, and run it.
# 1. Create a working folder (under the home directory)
mkdir ~/dependency-track && cd ~/dependency-track

# 2. Download the official docker-compose.yml
curl -LO https://raw.githubusercontent.com/DependencyTrack/dependency-track/HEAD/src/main/docker/docker-compose.yml

# 3. Run (the first run takes 1–2 minutes to download images)
docker compose up -d
The API server runs on port 8081, and the frontend runs on port 8080.
Initial login
Open http://localhost:8080 in your browser.
Log in with the initial account admin / admin.
Immediately after login, a password change screen is shown automatically. Change to a new password right away.
If you cannot log in properly in the browser, wait an additional 1–2 minutes until the API server (port 8081) has fully started, then try again.
Server management
# Start (after rebooting the PC)
cd ~/dependency-track && docker compose up -d

# Stop
docker compose down

# Check status
docker compose ps
After the initial installation, syncing vulnerability databases such as NVD takes at least 24 hours. It is normal to see
Mirroringmessages in the server logs. Vulnerabilities may not be detected until the sync completes.
Minimum recommended Vulnerability Sources settings
By default, many vulnerability sources are enabled. Turning them all on from the start generates excessive duplicate alerts and increases the management burden.
Recommended: start with NVD + GitHub Advisories at the core
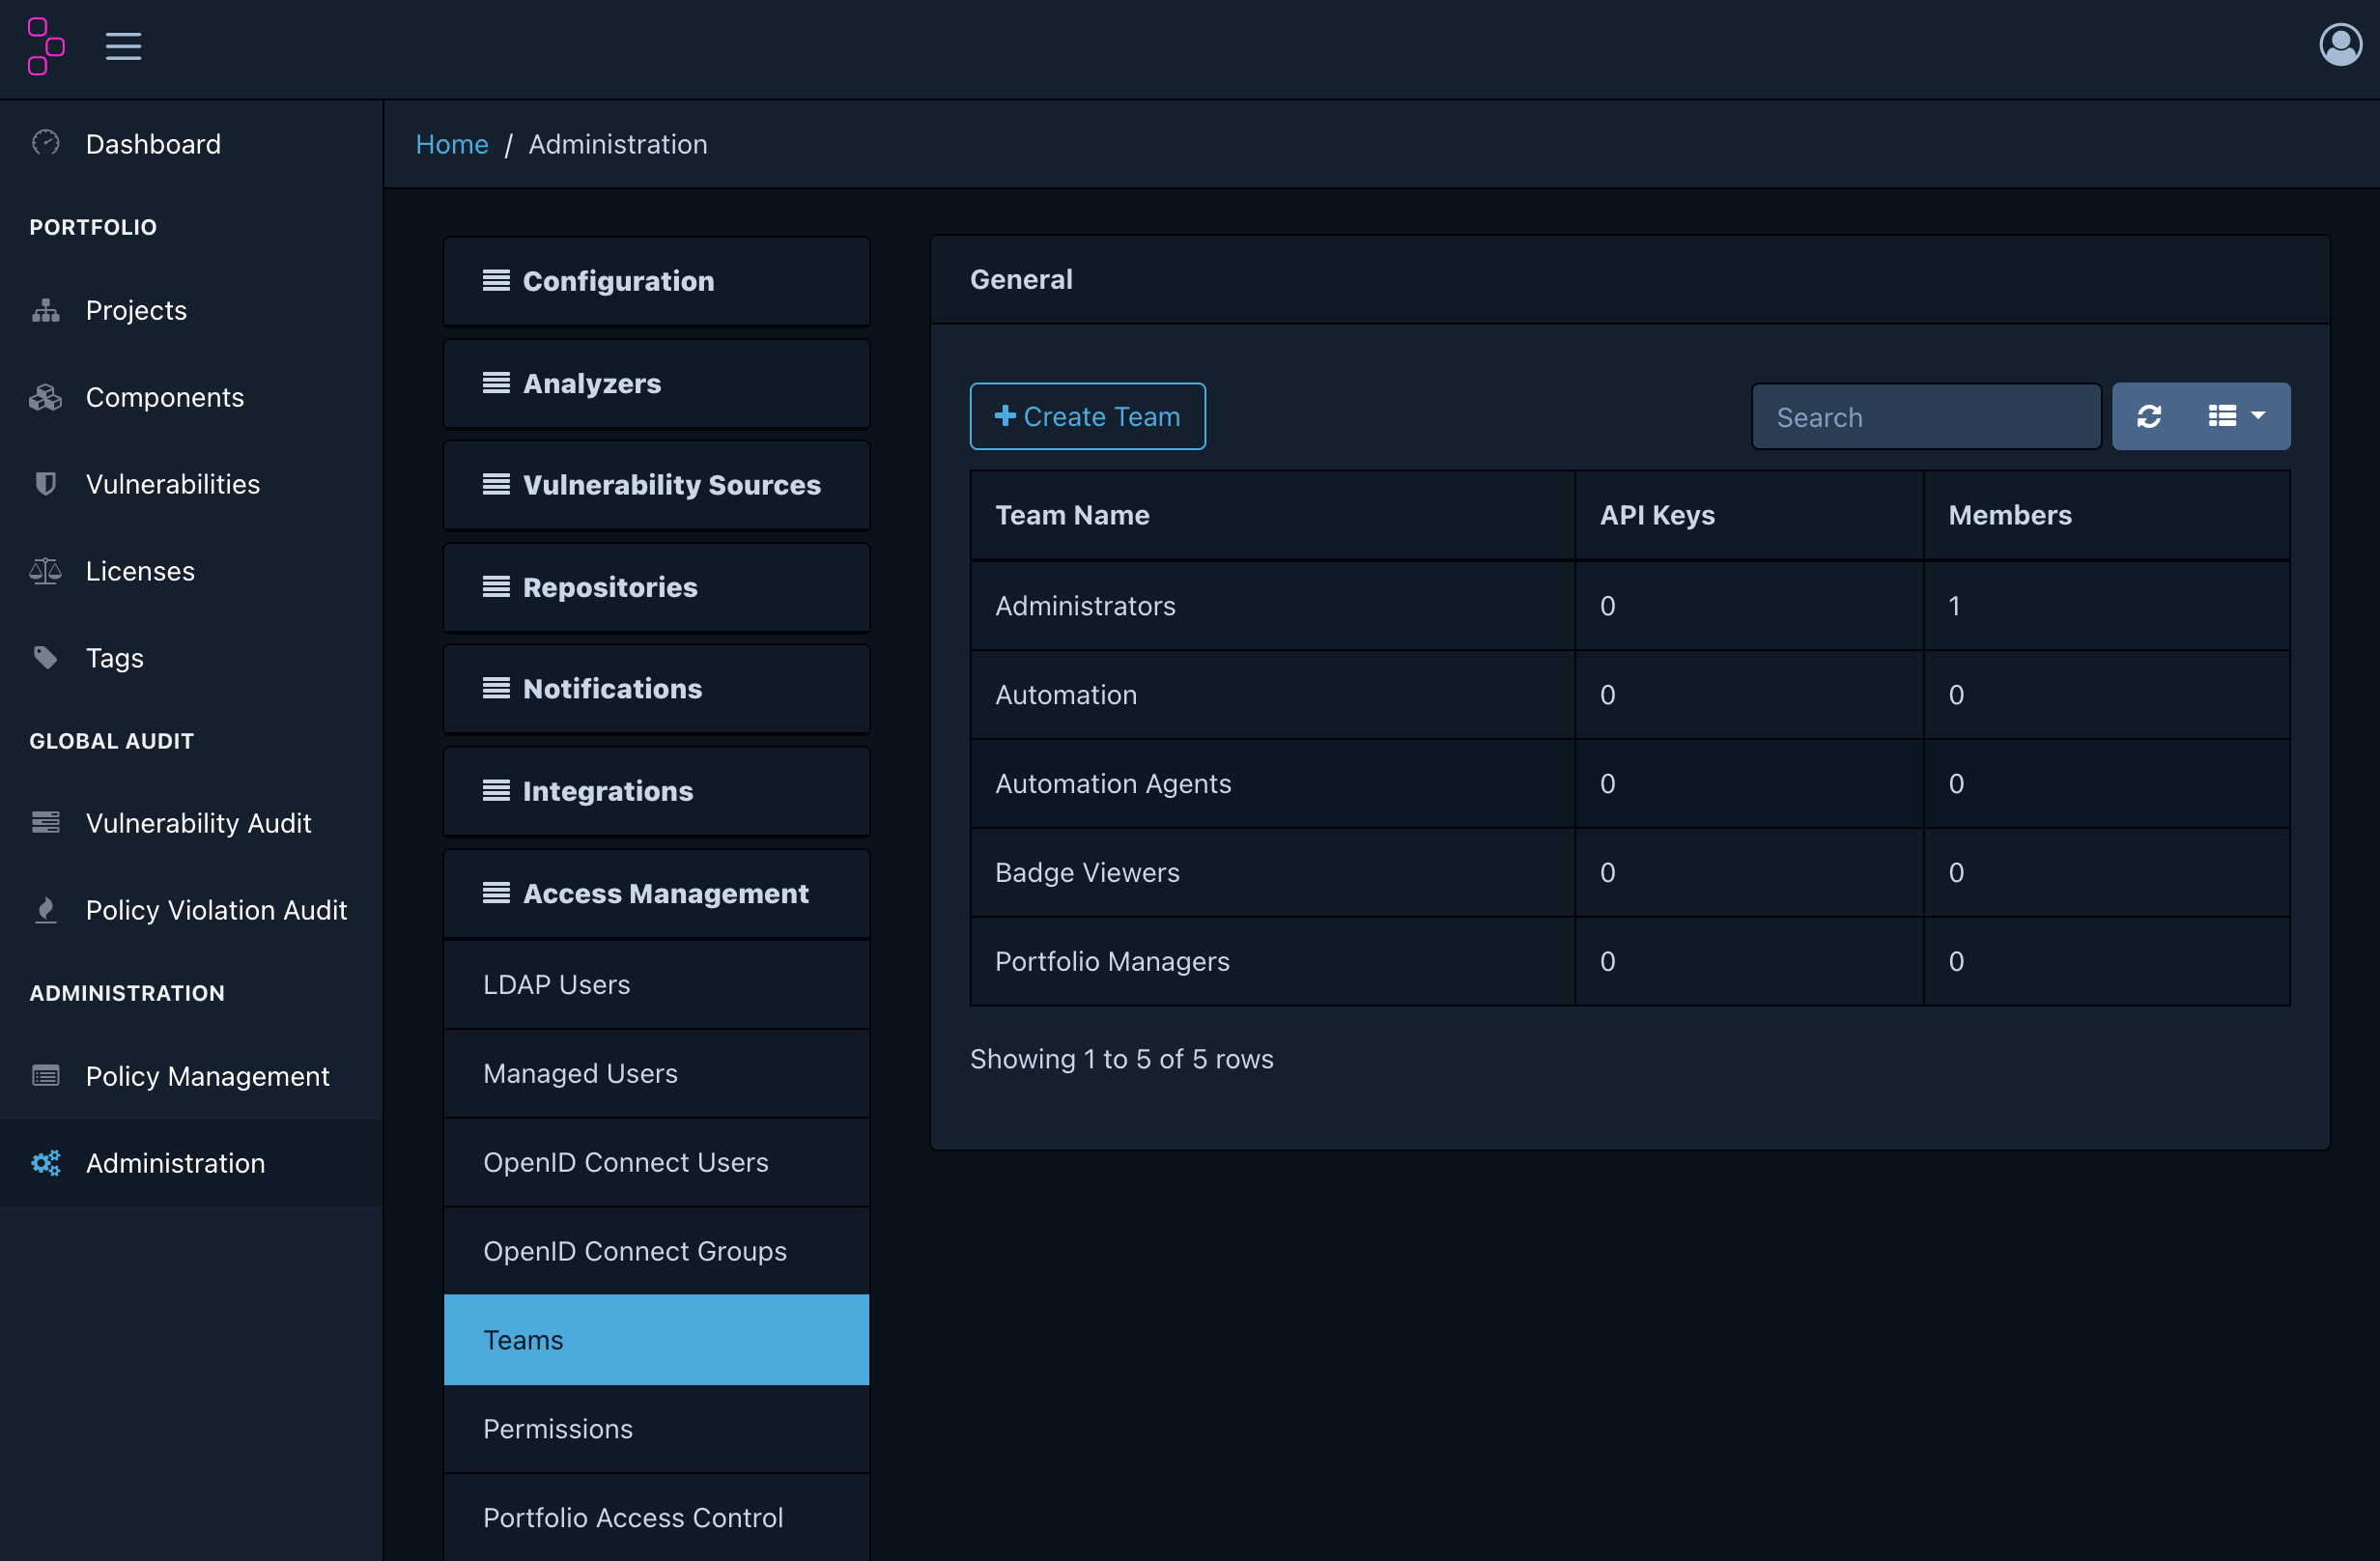
In Administration → Vulnerability Sources, configure settings using the table below as a reference.
| Source | Recommended setting | Reason |
|---|---|---|
| NVD | Enabled + API mirroring ON | Standard CVE-based DB. Includes CVSS scores. Required |
| GitHub Advisories | Enabled + enter PAT | Security advisories for npm·Python·Go·Ruby ecosystem packages. Complements NVD |
| Google OSV | Disabled initially | Heavy overlap with NVD·GitHub, a cause of alert spikes. Add later if needed after stable operation |
| OSS Index | Disabled initially | Requires account registration. Duplicate coverage |
| VulnDB | Disabled | Paid service |
Operational tip: After running for 6+ months, if you find detection gaps, enable OSV additionally. We recommend expanding gradually rather than turning everything on from the start.
NVD (required): configure with API mirroring
If Enable mirroring via API is OFF, it may operate using the legacy feed method, which has a high
likelihood of sync failures or delays in modern environments. Always use API mirroring.
Enable NVD mirroring: ONEnable mirroring via API: ONAPI endpoint:https://services.nvd.nist.gov/rest/json/cves/2.0(keep the default)API key: enter the key issued by NVDAdditionally download feeds: keep OFF (not needed for normal operation)
After applying, if Last Modification is empty, the initial sync may be in progress.
Verify the value is populated after the initial sync completes.
GitHub Advisories: does not work without a PAT
GitHub Advisory mirroring requires entering a Personal Access Token (PAT).
Enable GitHub Advisory mirroring: ONEnable vulnerability alias synchronization: keep ONPersonal Access Token: enter a classic PAT (ghp_...)
Note: fine-grained PATs (
github_pat_...) have been reported to cause authentication issues in some environments, so we recommend using a classic PAT.
Google OSV: requires an ecosystem selection to enable
OSV requires selecting at least one ecosystem for mirroring to actually work.
Select ecosystem to enable Google OSV Advisory mirroring: ONEnable vulnerability alias synchronization: ONOSV Base URL: keep the default- Ecosystems (examples):
PyPI,npm,Maven,Go,Linux(addNuGet,RubyGems,crates.iodepending on your environment)
Order of application (recommended)
# After saving settings, check the mirroring logs
docker compose logs -f dtrack-apiserver | grep -iE "nvd|github|osv|mirror"
If needed, restart the API server to apply the initial settings.
docker compose restart dtrack-apiserver
Configuring license policies
Using Dependency-Track’s Policy Engine, you can automatically detect license violations.
Left menu → Policy Management → click Create Policy at the top right of the screen
Policy 1: Copyleft license warning
If a proprietary software product includes a Copyleft-licensed component, a source disclosure obligation may arise. Configure this as a warning to trigger a review.
Basic policy settings:
| Item | Value |
|---|---|
| Policy Name | Copyleft License Warning |
| Policy Operator | ANY (triggers if any one condition matches) |
| Violation State | WARN |
After saving the policy with the Create button, click the created policy to enter the detail screen.
In the Conditions section, click + Add Condition to add one condition per license.
| Condition Subject | Condition Operator | Condition Value |
|---|---|---|
| License | IS | GPL-2.0-only |
| License | IS | GPL-3.0-only |
| License | IS | AGPL-3.0-only |
| License | IS | LGPL-2.1-only |
| License | IS | LGPL-3.0-only |
Setting it to WARN does not stop the build; it only sends a review-request notification.
Policy 2: Blocking licenses that restrict commercial use
Licenses that restrict commercial use itself should be blocked from use from the start. Create a second policy the same way.
| Item | Value |
|---|---|
| Policy Name | Restricted License Block |
| Policy Operator | ANY |
| Violation State | FAIL |
| Condition Subject | Condition Operator | Condition Value |
|---|---|---|
| License | IS | BUSL-1.1 |
| License | IS | SSPL-1.0 |
Setting it to FAIL marks projects that include the component as in violation.
Policy scope: After creating a policy, you can apply it to a specific project on the Projects tab, or apply it to the entire Portfolio.
Getting started quickly with SKT SBOM Scanner (Easy Mode)
This is a way to generate an SBOM using only Docker, without installing cdxgen directly. It is an open source tool developed by SK Telecom for supply chain management that analyzes source code, Docker images, and binaries without installing Node.js, and outputs CycloneDX JSON directly.
Since the output format is CycloneDX JSON, you can upload it directly to the Dependency-Track described in this section.
Prerequisites
You need Docker v20.10 or later and about 4–5 GB of free disk space. The first run takes 5–10 minutes to download the Docker image.
Installation and execution
# Linux / macOS
curl -O https://raw.githubusercontent.com/sktelecom/sbom-tools/main/scripts/scan-sbom.sh
chmod +x scan-sbom.sh

# Analyze source code (run from the project root)
./scan-sbom.sh --project "MyApp" --version "1.0.0" --generate-only
# Result: MyApp_1.0.0_bom.json is generated
:: Windows
curl -O https://raw.githubusercontent.com/sktelecom/sbom-tools/main/scripts/scan-sbom.bat
scan-sbom.bat --project "MyApp" --version "1.0.0" --generate-only
It also supports analyzing Docker images, binaries/firmware, and RootFS.
# Analyze a Docker image
./scan-sbom.sh --target "myapp:v1.0" --project "MyApp" --version "1.0" --generate-only

# Analyze firmware
./scan-sbom.sh --target firmware.bin --project "RouterOS" --version "2.0" --generate-only
Uploading to Dependency-Track
Upload the generated *_bom.json file with the command below.
curl -X "POST" "http://localhost:8081/api/v1/bom" \
  -H "X-Api-Key: ${DT_API_KEY}" \
  -F "autoCreate=true" \
  -F "projectName=MyApp" \
  -F "projectVersion=1.0.0" \
  -F "bom=@MyApp_1.0.0_bom.json"
Supported languages
It analyzes Java, Python, Node.js, Go, Rust, Ruby, PHP, .NET, and C/C++ (when using a package manager) at once. There are limits to detecting C/C++ projects that manage headers directly or use statically linked binaries.
Source: github.com/sktelecom/sbom-tools (Apache-2.0)
Generating SBOMs with cdxgen and auto-uploading
Issuing an API Key
For an automation script to upload SBOMs to Dependency-Track, an API Key is required.
Administration → Access Management → Teams
- Click
+ Create Team→ enter the team nameAutomation Agentsand clickCreate - Click the created team to enter its detail screen
- In the Permissions section, check the following two items:
BOM_UPLOAD(permission to upload SBOMs)PROJECT_CREATION_UPLOAD(permission to auto-create projects)
- In the API Keys section → click
+ Create API Key
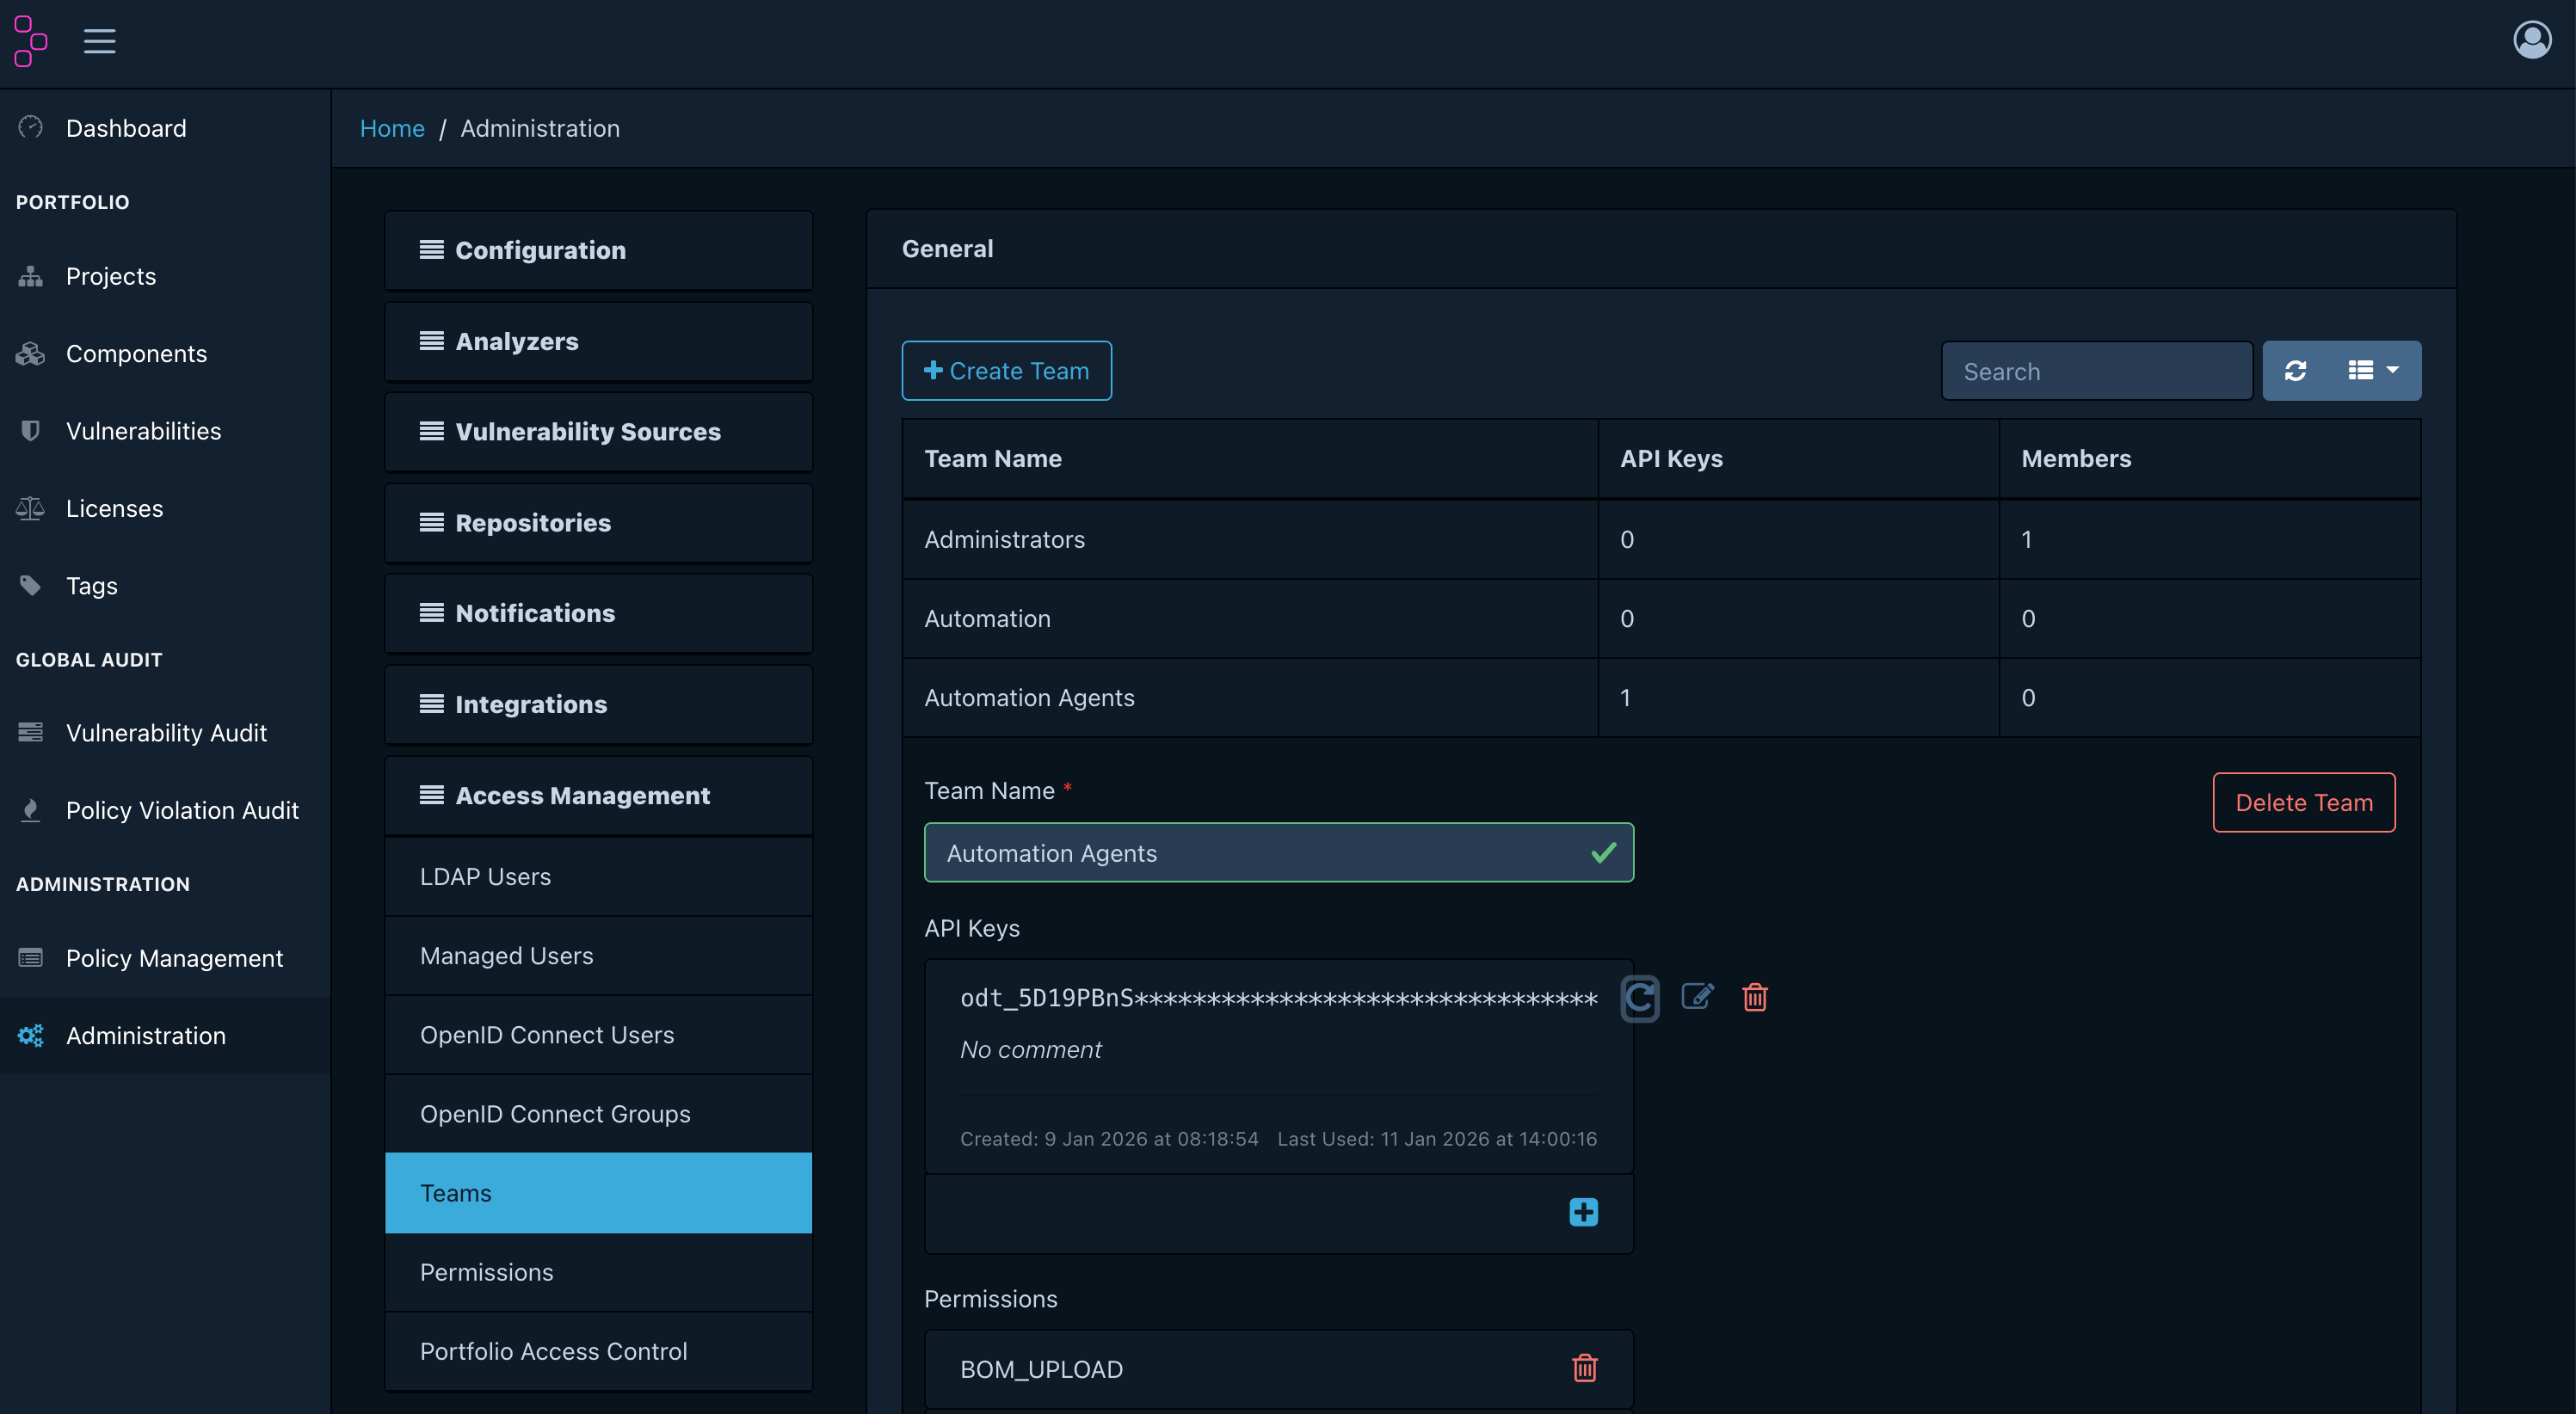
Copy the generated key (in odt_publicId_... format) and store it somewhere safe.
You can only view the full key value immediately after creation.
Installing cdxgen
npm install -g @cyclonedx/cdxgen
In environments without Node.js, you can use the Docker image. For detailed installation instructions, see the cdxgen guide.
SBOM generation and upload script
Saving the script below as scan-upload.sh handles SBOM generation and upload in one step.
Version compatibility: The latest cdxgen versions (v12+) generate the CycloneDX 1.7 format by default, but Dependency-Track v4.14 supports up to CycloneDX 1.6. Be sure to specify the
--spec-version 1.6option.
#!/bin/bash
# Usage: ./scan-upload.sh <project-name> <version>
# Example: ./scan-upload.sh "my-app" "1.0.0"

PROJECT_NAME="${1:?Enter a project name}"
PROJECT_VERSION="${2:?Enter a version}"
DT_URL="http://localhost:8081"
API_KEY="${DT_API_KEY:?Set the DT_API_KEY environment variable}"

# Generate SBOM
echo "[1/2] Generating SBOM..."
cdxgen -r --spec-version 1.6 -o sbom.json .

if [ ! -s sbom.json ]; then
  echo "SBOM generation failed: check that dependency files such as package.json or pom.xml exist."
  exit 1
fi

# Upload to Dependency-Track
echo "[2/2] Uploading to Dependency-Track..."
RESPONSE=$(curl -s -X POST "${DT_URL}/api/v1/bom" \
  -H "X-Api-Key: ${API_KEY}" \
  -F "autoCreate=true" \
  -F "projectName=${PROJECT_NAME}" \
  -F "projectVersion=${PROJECT_VERSION}" \
  -F "bom=@sbom.json")

if echo "${RESPONSE}" | grep -q '"token"'; then
  echo "Upload complete: check the results at http://localhost:8080."
else
  echo "Upload failed: ${RESPONSE}"
  exit 1
fi
# How to run
export DT_API_KEY="your_issued_API_KEY"
chmod +x scan-upload.sh
./scan-upload.sh "my-app" "1.0.0"
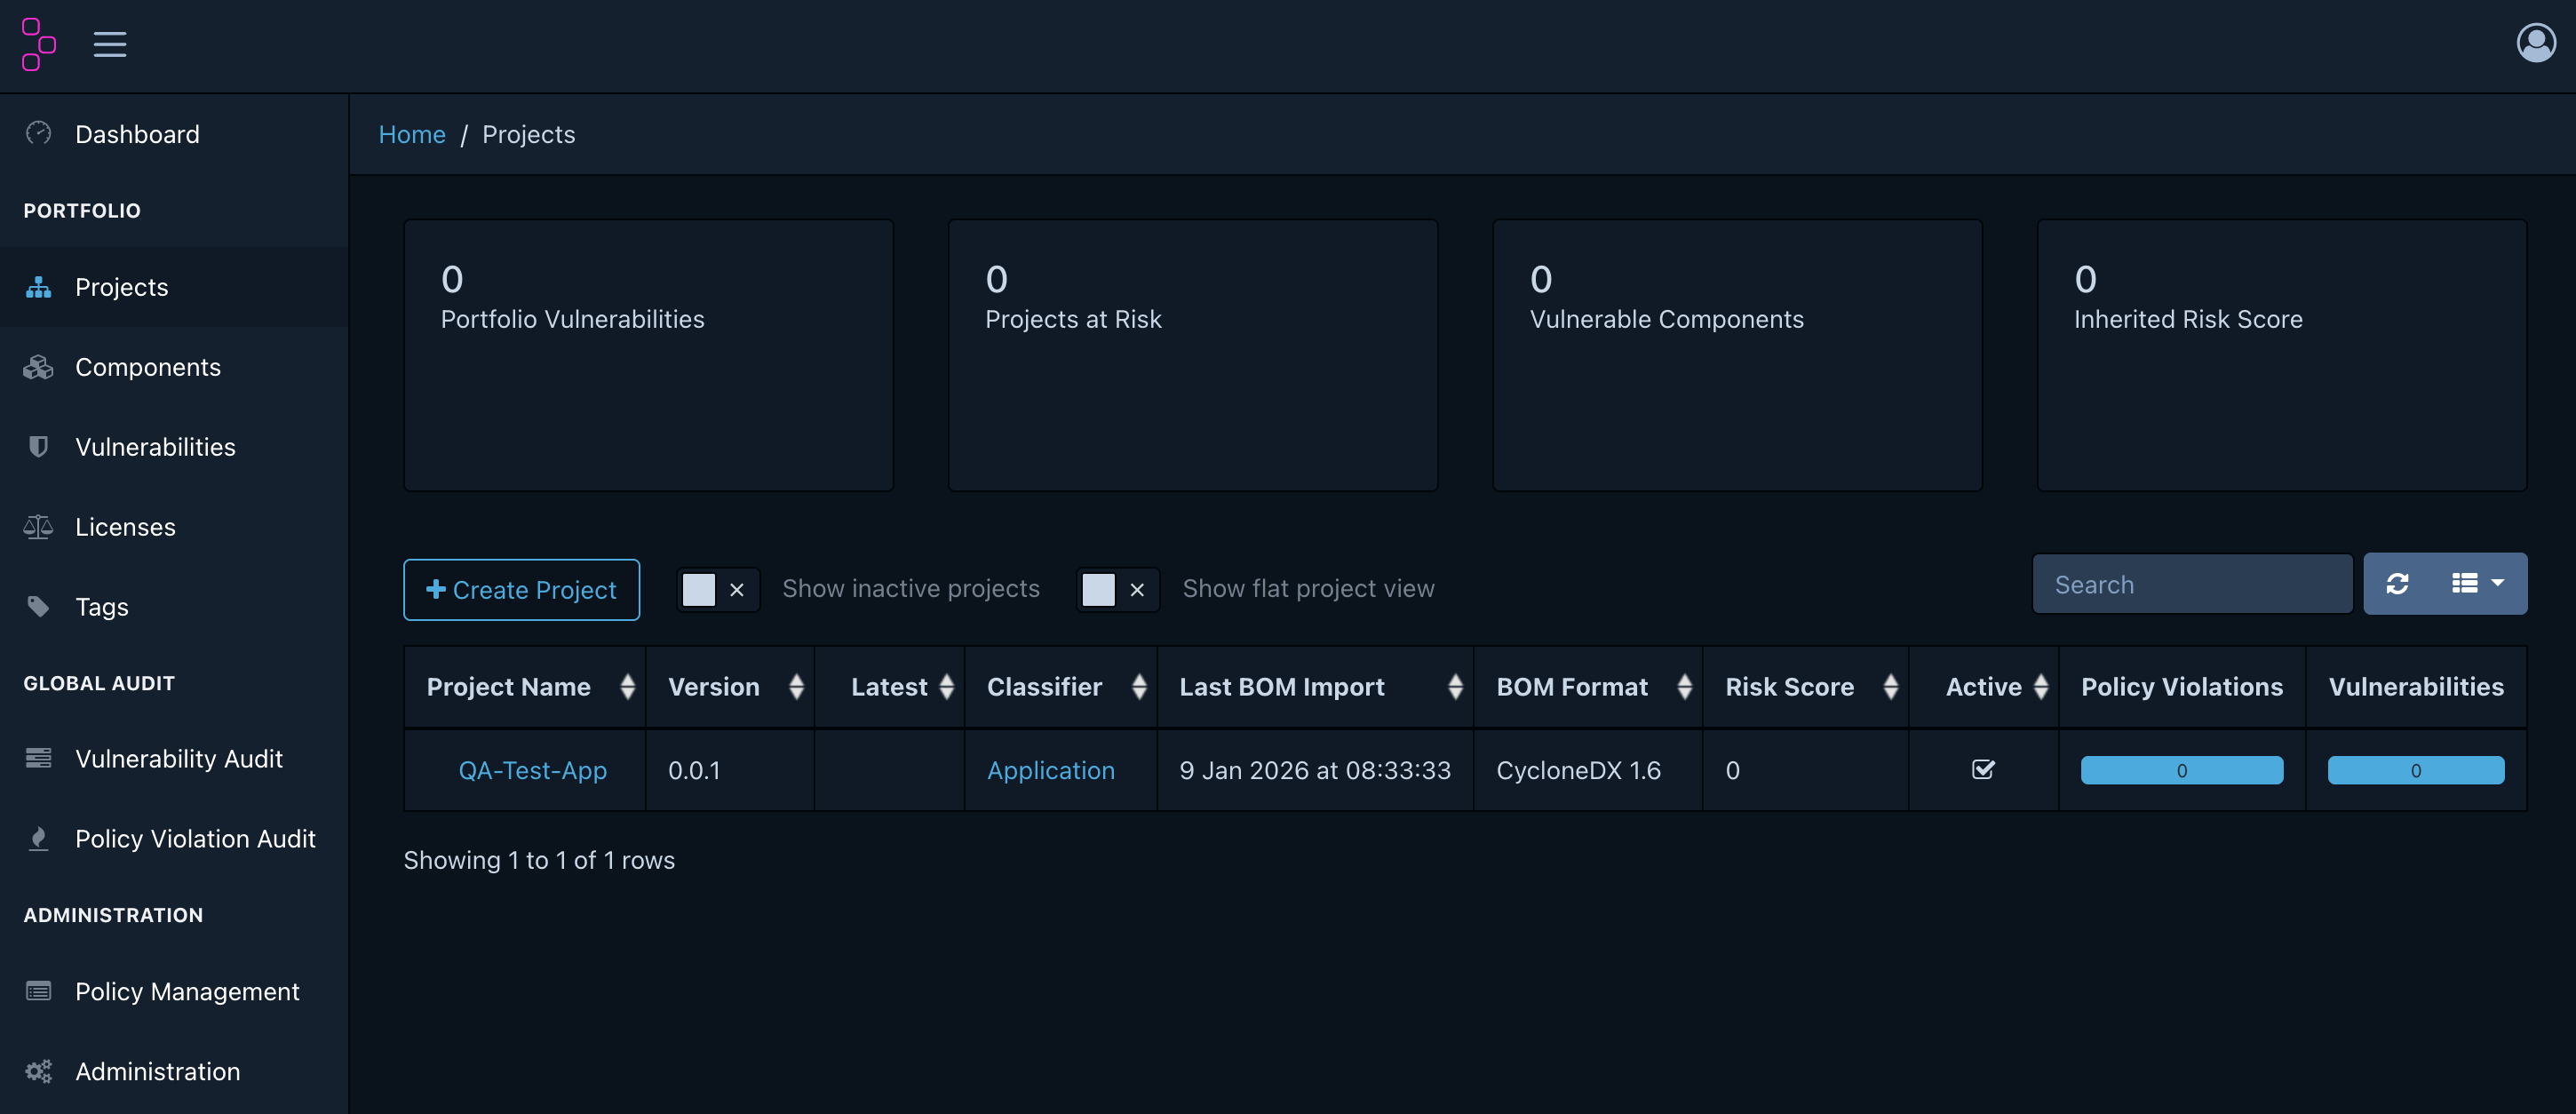
After uploading, confirm that the project was automatically created in Dependency-Track.
Reviewing results and day-to-day operations
Dashboard overview
http://localhost:8080 → Dashboard
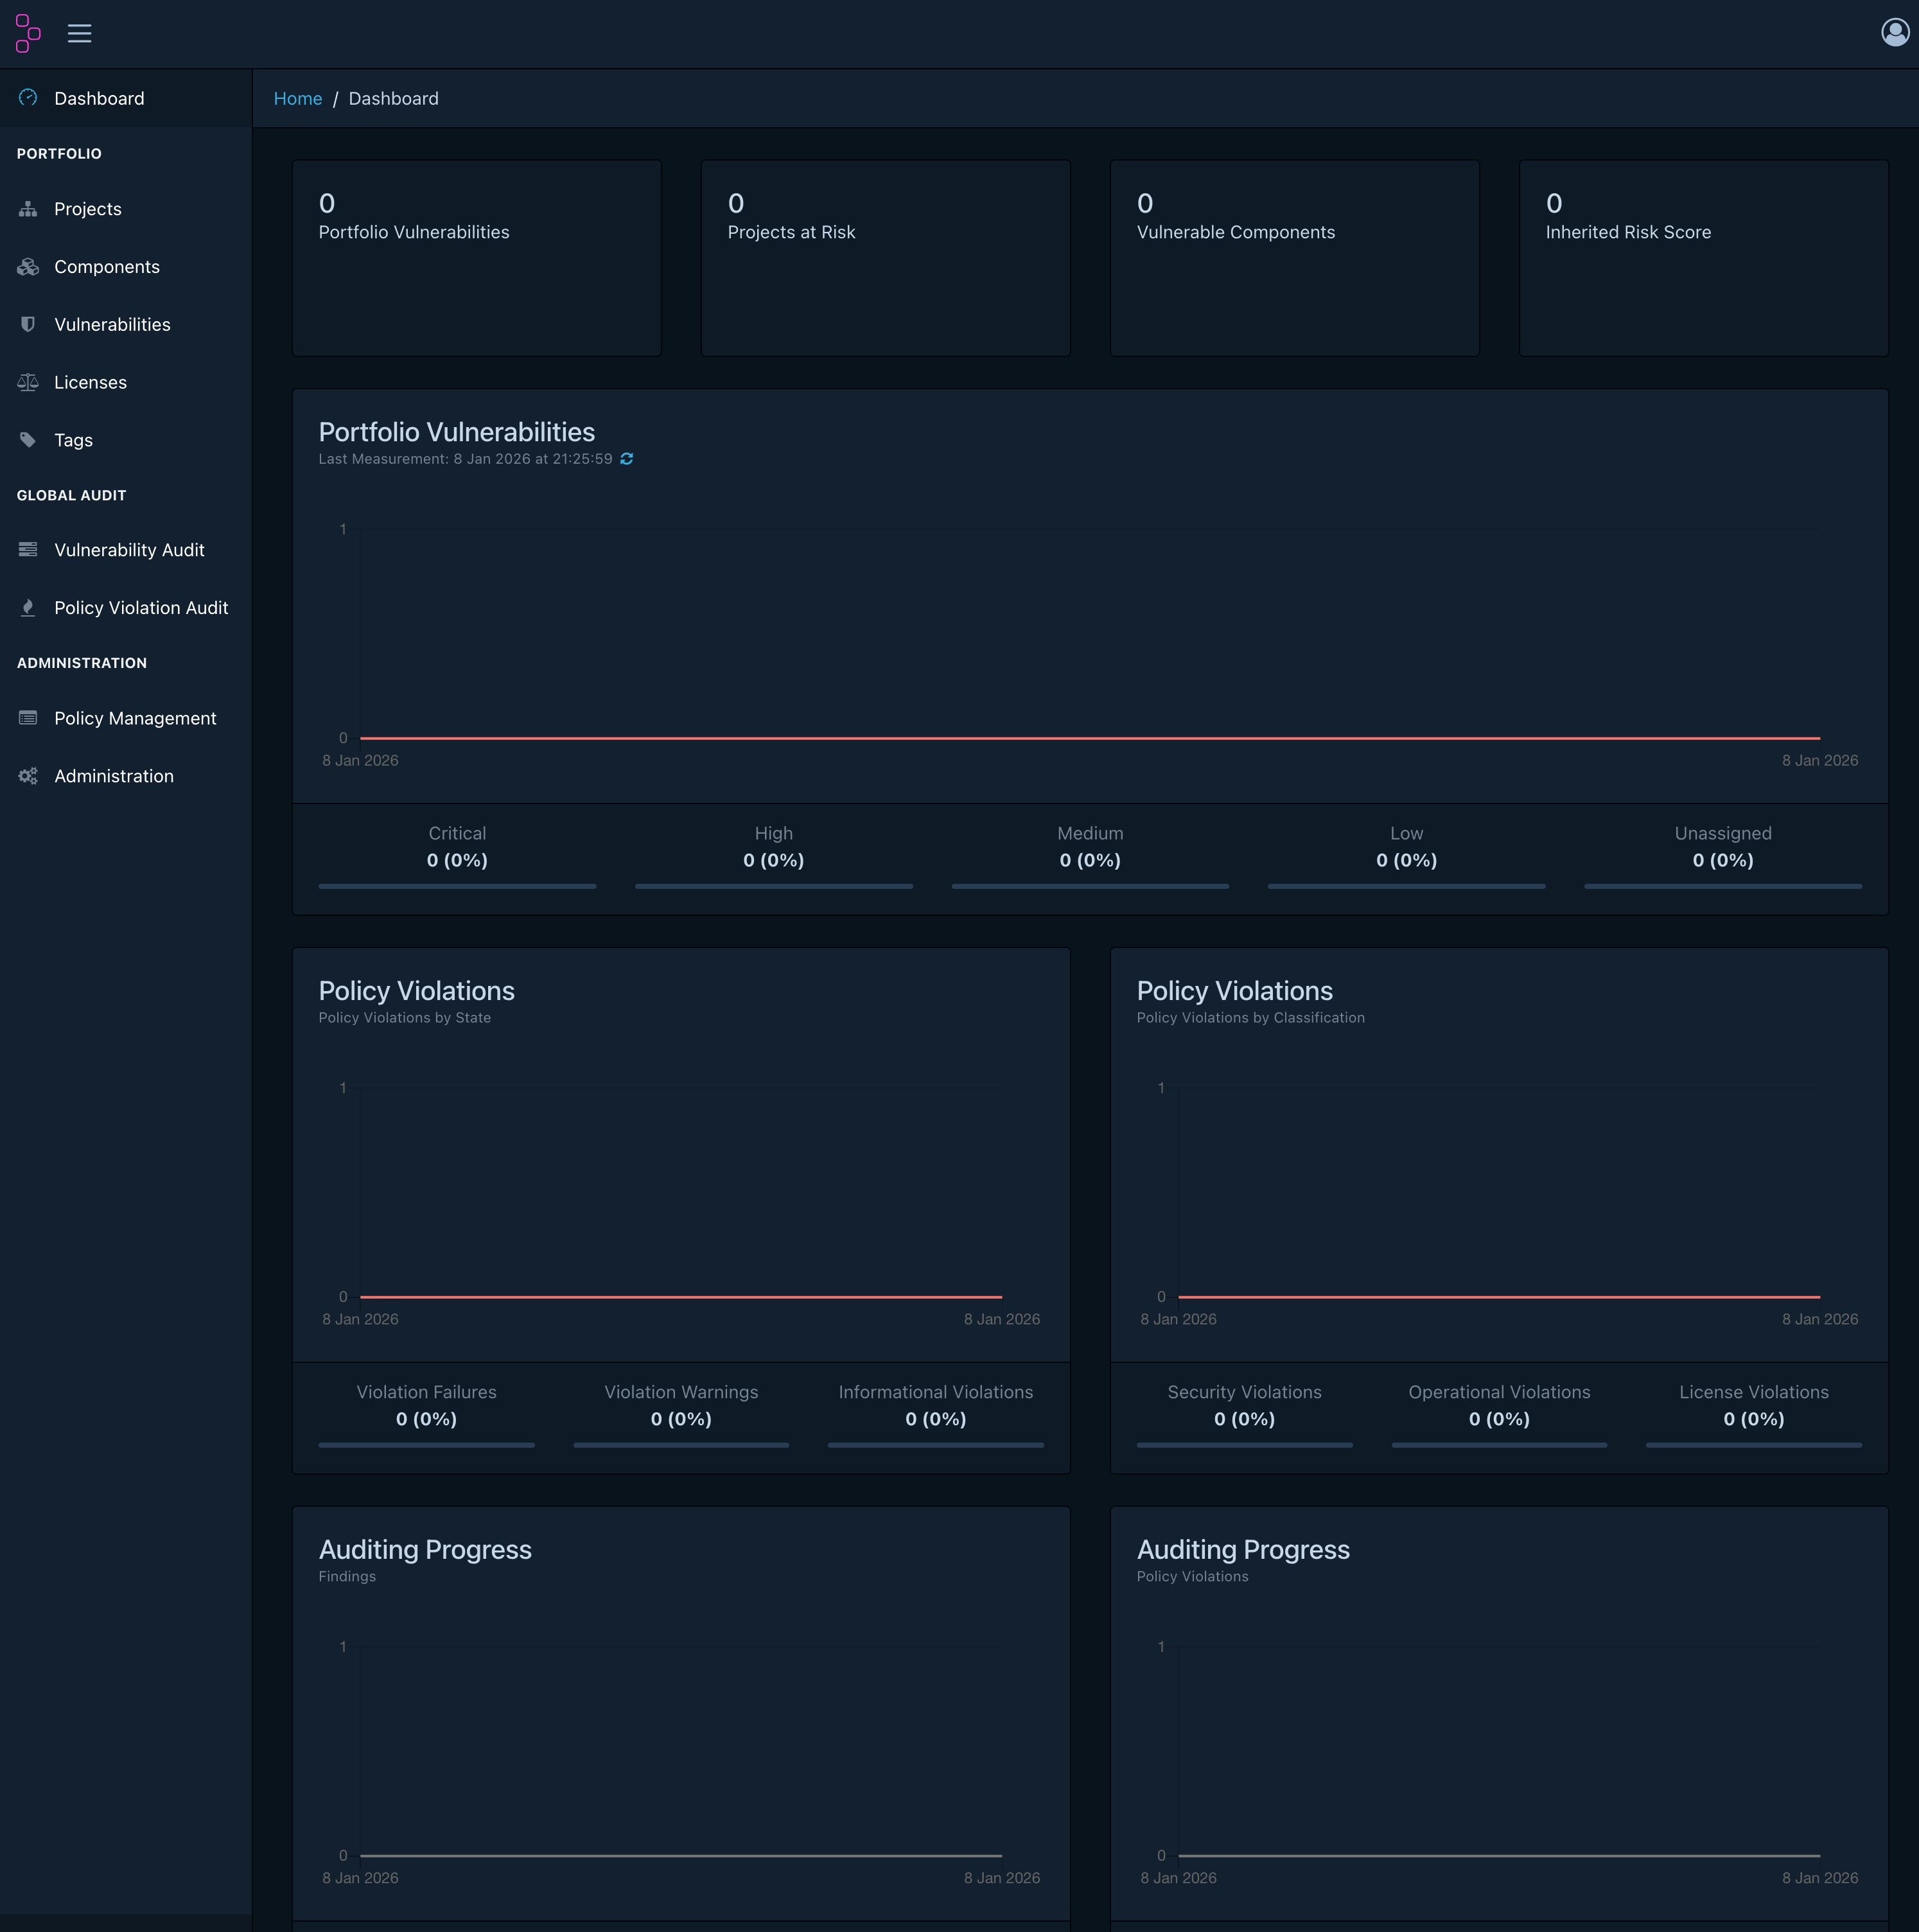
| Item | Description |
|---|---|
| Portfolio Vulnerabilities | Vulnerability status across all company projects, by severity |
| Projects at Risk | List of high-risk projects |
| Policy Violations | License policy violation status |
Vulnerability triage criteria
Projects → select a project → Audit Vulnerabilities tab
You do not need to treat every Critical vulnerability as an emergency. Make decisions using the three steps below.
flowchart TD
    A["Vulnerability found"] --> B{"Is it the version\nactually in use?"}
    B -- No --> C["Mark Not Affected\n(scanner false positive)"]
    B -- Yes --> D{"Does our code call\nthe vulnerable function?"}
    D -- No --> E["Mark Not Affected\n+ record reason in a Comment"]
    D -- Yes --> F{"Does a patched\nversion exist?"}
    F -- Yes --> G["Set Exploitable\nRequest upgrade from the dev team"]
    F -- No --> H["Set In Triage\nReview mitigation measures"]

    style C fill:#276749,color:#fff
    style E fill:#276749,color:#fff
    style G fill:#c53030,color:#fff
    style H fill:#744210,color:#fff
Responding to license policy violations
Left menu → in Policy Violation Audit, review violations across the company.
- WARN: After discussing license usage with the dev team, mark as
Approvedif there is no issue - FAIL: Request replacement of the component with an allowed-license version
Daily inspection checklist
| Frequency | Inspection item |
|---|---|
| Daily | Check the Dashboard for newly occurring Critical vulnerabilities |
| Weekly | Classify vulnerabilities in Not Set status as Exploitable or Not Affected |
| Monthly | Review the trend of each team’s Risk Score (a downward trend is normal) |